
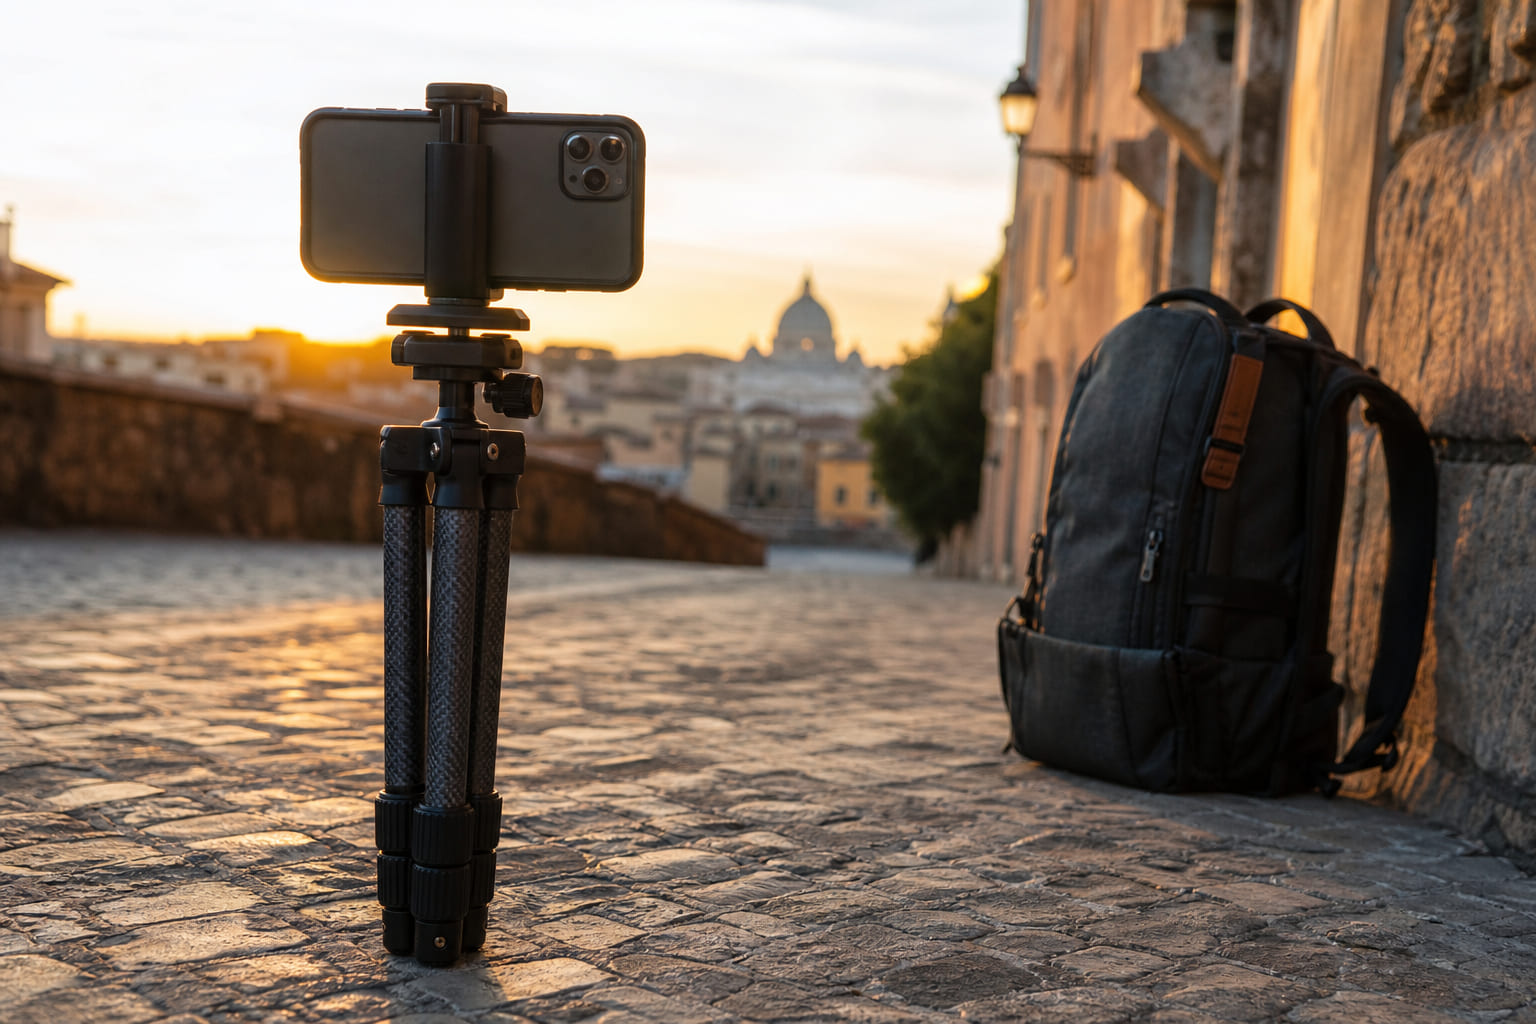
The right tripod pairs with a carry-on-only packing strategy and the gear list in our digital nomad backpack checklist. Book budget flights knowing your tripod stays in the cabin, and activate a travel eSIM to upload clips from the road — details in the smartphone travel prep checklist.
Key specs for a travel tripod
Buy with a product mindset — every gram in your backpack counts on a multi-city trip. These are the non-negotiable numbers.
- Weight: stay at or below 1.3 kg. Carbon fiber models are the default choice for frequent flyers.
- Folded length: 40–45 cm so the legs fit carry-on limits and side pockets on most backpacks.
- Payload with headroom: add camera + lens + accessories, then multiply by 1.3–1.5× for wind stability on timelapses and long exposures.
- Leg locks: twist locks (collars) pack slimmer and snag less inside a bag than flip levers — common on road-focused designs.
Popular lightweight travel tripods compared
You do not need a video tripod unless you shoot long-form cinema. These three cover phone-only creators, hybrid setups, and mirrorless travelers.
Peak Design Travel Tripod
Carbon 1.27 kg / Aluminum 1.56 kg · max height 152.4 cm
Folds to roughly water-bottle diameter (~8.5 cm) — the benchmark for carry-on packing. Built-in phone mount on the ball head. Premium price, but the form factor is unmatched for travel vlog workflows.
Ulanzi & Coman Zero-Y
Carbon 1.1 kg · max height 156.7 cm · payload ~18 kg on center column
Budget-friendly Peak Design alternative. Arca-Swiss compatible plates, stiff carbon legs, and a lower price tag — strong value if you already own a ball head.
Joby GorillaPod 3K
ABS / aluminum 0.39 kg · flexible legs, ~30 cm working height
Wrap legs around railings, trees, and hostel bunk frames — no flat ground required. Best for smartphones and light mirrorless bodies. Pair with our vacation video scenarios for quick B-roll setups.
Carbon fiber vs aluminum
Material choice shapes how the tripod feels on a 12-hour shooting day — not just the price tag.
- Aluminum: cheaper, survives point impacts, but heavier and cold to the touch in winter destinations. A 4-section aluminum tripod with a ball head is the best budget compromise.
- Carbon fiber: 20–30% lighter, better vibration damping for timelapses and 2–30 s exposures. Worth the premium if you shoot landscapes regularly — think Japanese Alps snow corridors or golden-hour city rooftops.
Add travel insurance that covers personal electronics — a tipped tripod on cobblestones can crack a lens filter or phone screen.
Tripod features for Reels, TikTok, and Shorts
Vertical video dominates social feeds. Your tripod should speed up format switches, not slow them down.
- Ball head: one knob to flip from landscape to portrait — essential for mixed Reels and YouTube uploads.
- Reversible center column: shoot ground-level angles for food, shoes, and street texture without crouching for minutes.
- Phone clamp with 1/4" thread: must leave charging port and mic input accessible for external mics and power banks during talking-head clips.
- Remote shutter: Bluetooth trigger or wired remote — keeps handshake out of static intro shots when you are solo on location.
Plan shoot locations while you pick gear
While you compare tripods, let AlpacaBag assemble a detailed route in minutes — duration, budget, and transport included. Less logistics, more time for timelapses and content.
Ready-made routes
Routes for your destination
Day-by-day plans you can adapt to your dates right away.

FAQ
How much should a travel tripod weigh?
Aim for 1.3 kg (2.9 lb) or less. Carbon fiber models in the 1.0–1.3 kg range are the sweet spot for carry-on travel — light enough for day hikes, stiff enough for timelapses and long exposures in light wind.
Carbon fiber or aluminum for a travel tripod?
Carbon is 20–30% lighter and damps micro-vibrations better — ideal for timelapses and long exposures. Aluminum costs less and survives point impacts better. If budget is tight, a 4-section aluminum tripod with a ball head is a solid compromise.
Will a travel tripod fit in carry-on luggage?
Most compact travel tripods fold to 40–45 cm — within typical carry-on limits when strapped to a backpack or packed in a side pocket. Peak Design Travel Tripod folds to bottle diameter (~8.5 cm). Always check your airline’s linear dimensions if you pack it inside a hardside suitcase.
What is the best travel tripod for smartphone vlogging?
For phone-only creators, Joby GorillaPod 3K (390 g) handles uneven surfaces without a flat floor. For hybrid phone + mirrorless setups, pick a model with a built-in or add-on phone clamp, ball head for fast vertical flips, and reverse center column for low-angle shots.
Do I need a tripod for Reels, TikTok, and YouTube Shorts?
Not for every clip — handheld works for walking shots. A tripod pays off for static talking-head intros, product B-roll, timelapses, golden-hour landscapes, and any clip where you need both hands free. A quick-release ball head saves seconds when switching between horizontal and vertical.